


Ultimate Guide: How to Fill Lip Gloss Tubes with Ease
December 23,2025
Ever tried explaining “how to fill lip gloss tubes” to someone who’s never set foot in a beauty lab? It’s kind of like telling your grandma how TikTok works—messy, full of questions, and likely ending with glitter on the ceiling. But for folks ordering packaging by the thousands, this ain’t just arts and crafts—it’s business strategy.
One wrong tube size or mismatched applicator can throw off your whole production line. In 2023, over 67% of indie cosmetic brands reported packaging inefficiencies as their top profit leak (Statista Manufacturing Survey). That’s not just a hiccup—it’s a hemorrhage.
So what gives? You’ve got formulas ready to roll but need the lowdown on caps, nozzles, materials—and how not to waste half your product during filling. We’ve seen it all: sticky spills, crooked labels, jammed machines that sound like they’re chewing marbles.
Buckle up—we’re about to break down the dirty work behind glamorously glossy profits.
Essential Insights on How to Fill Lip Gloss Tubes
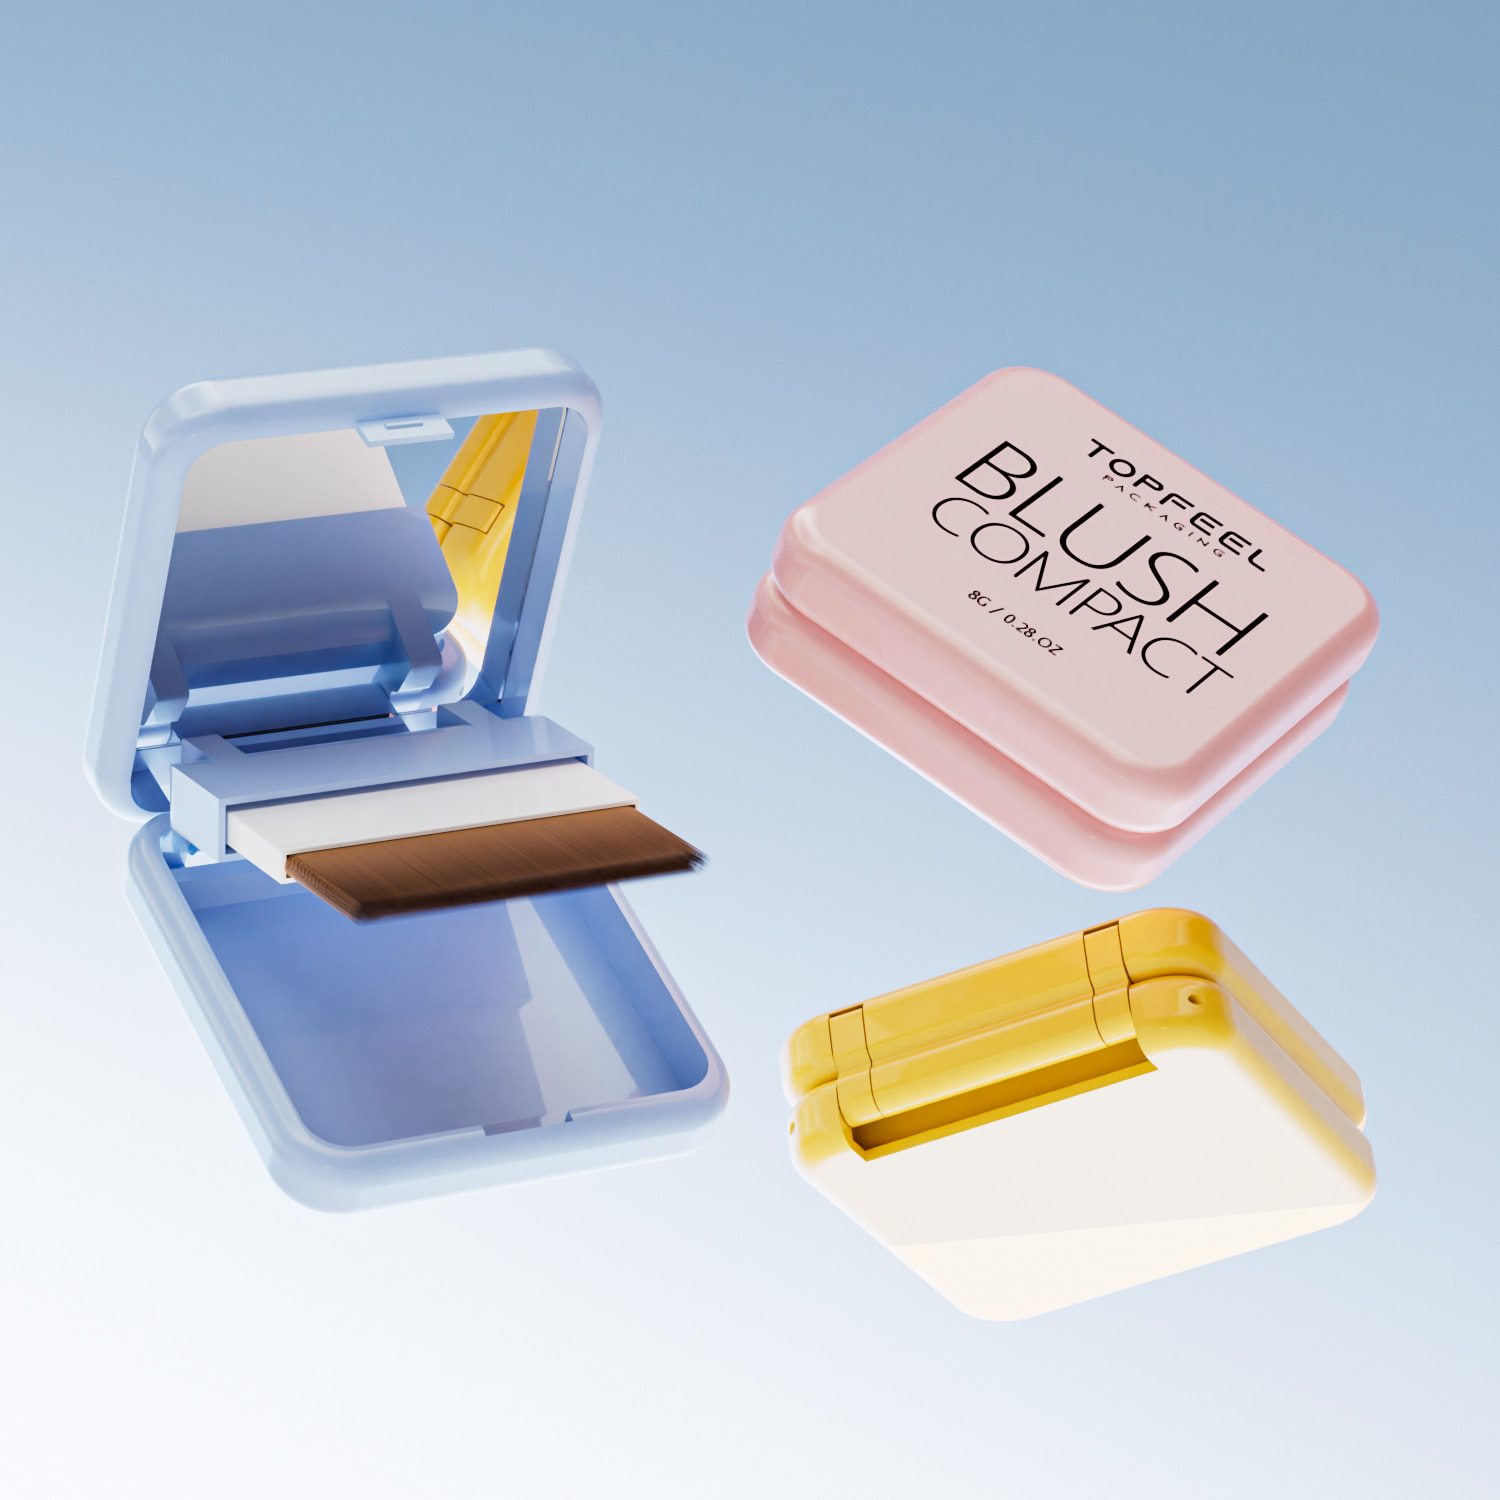
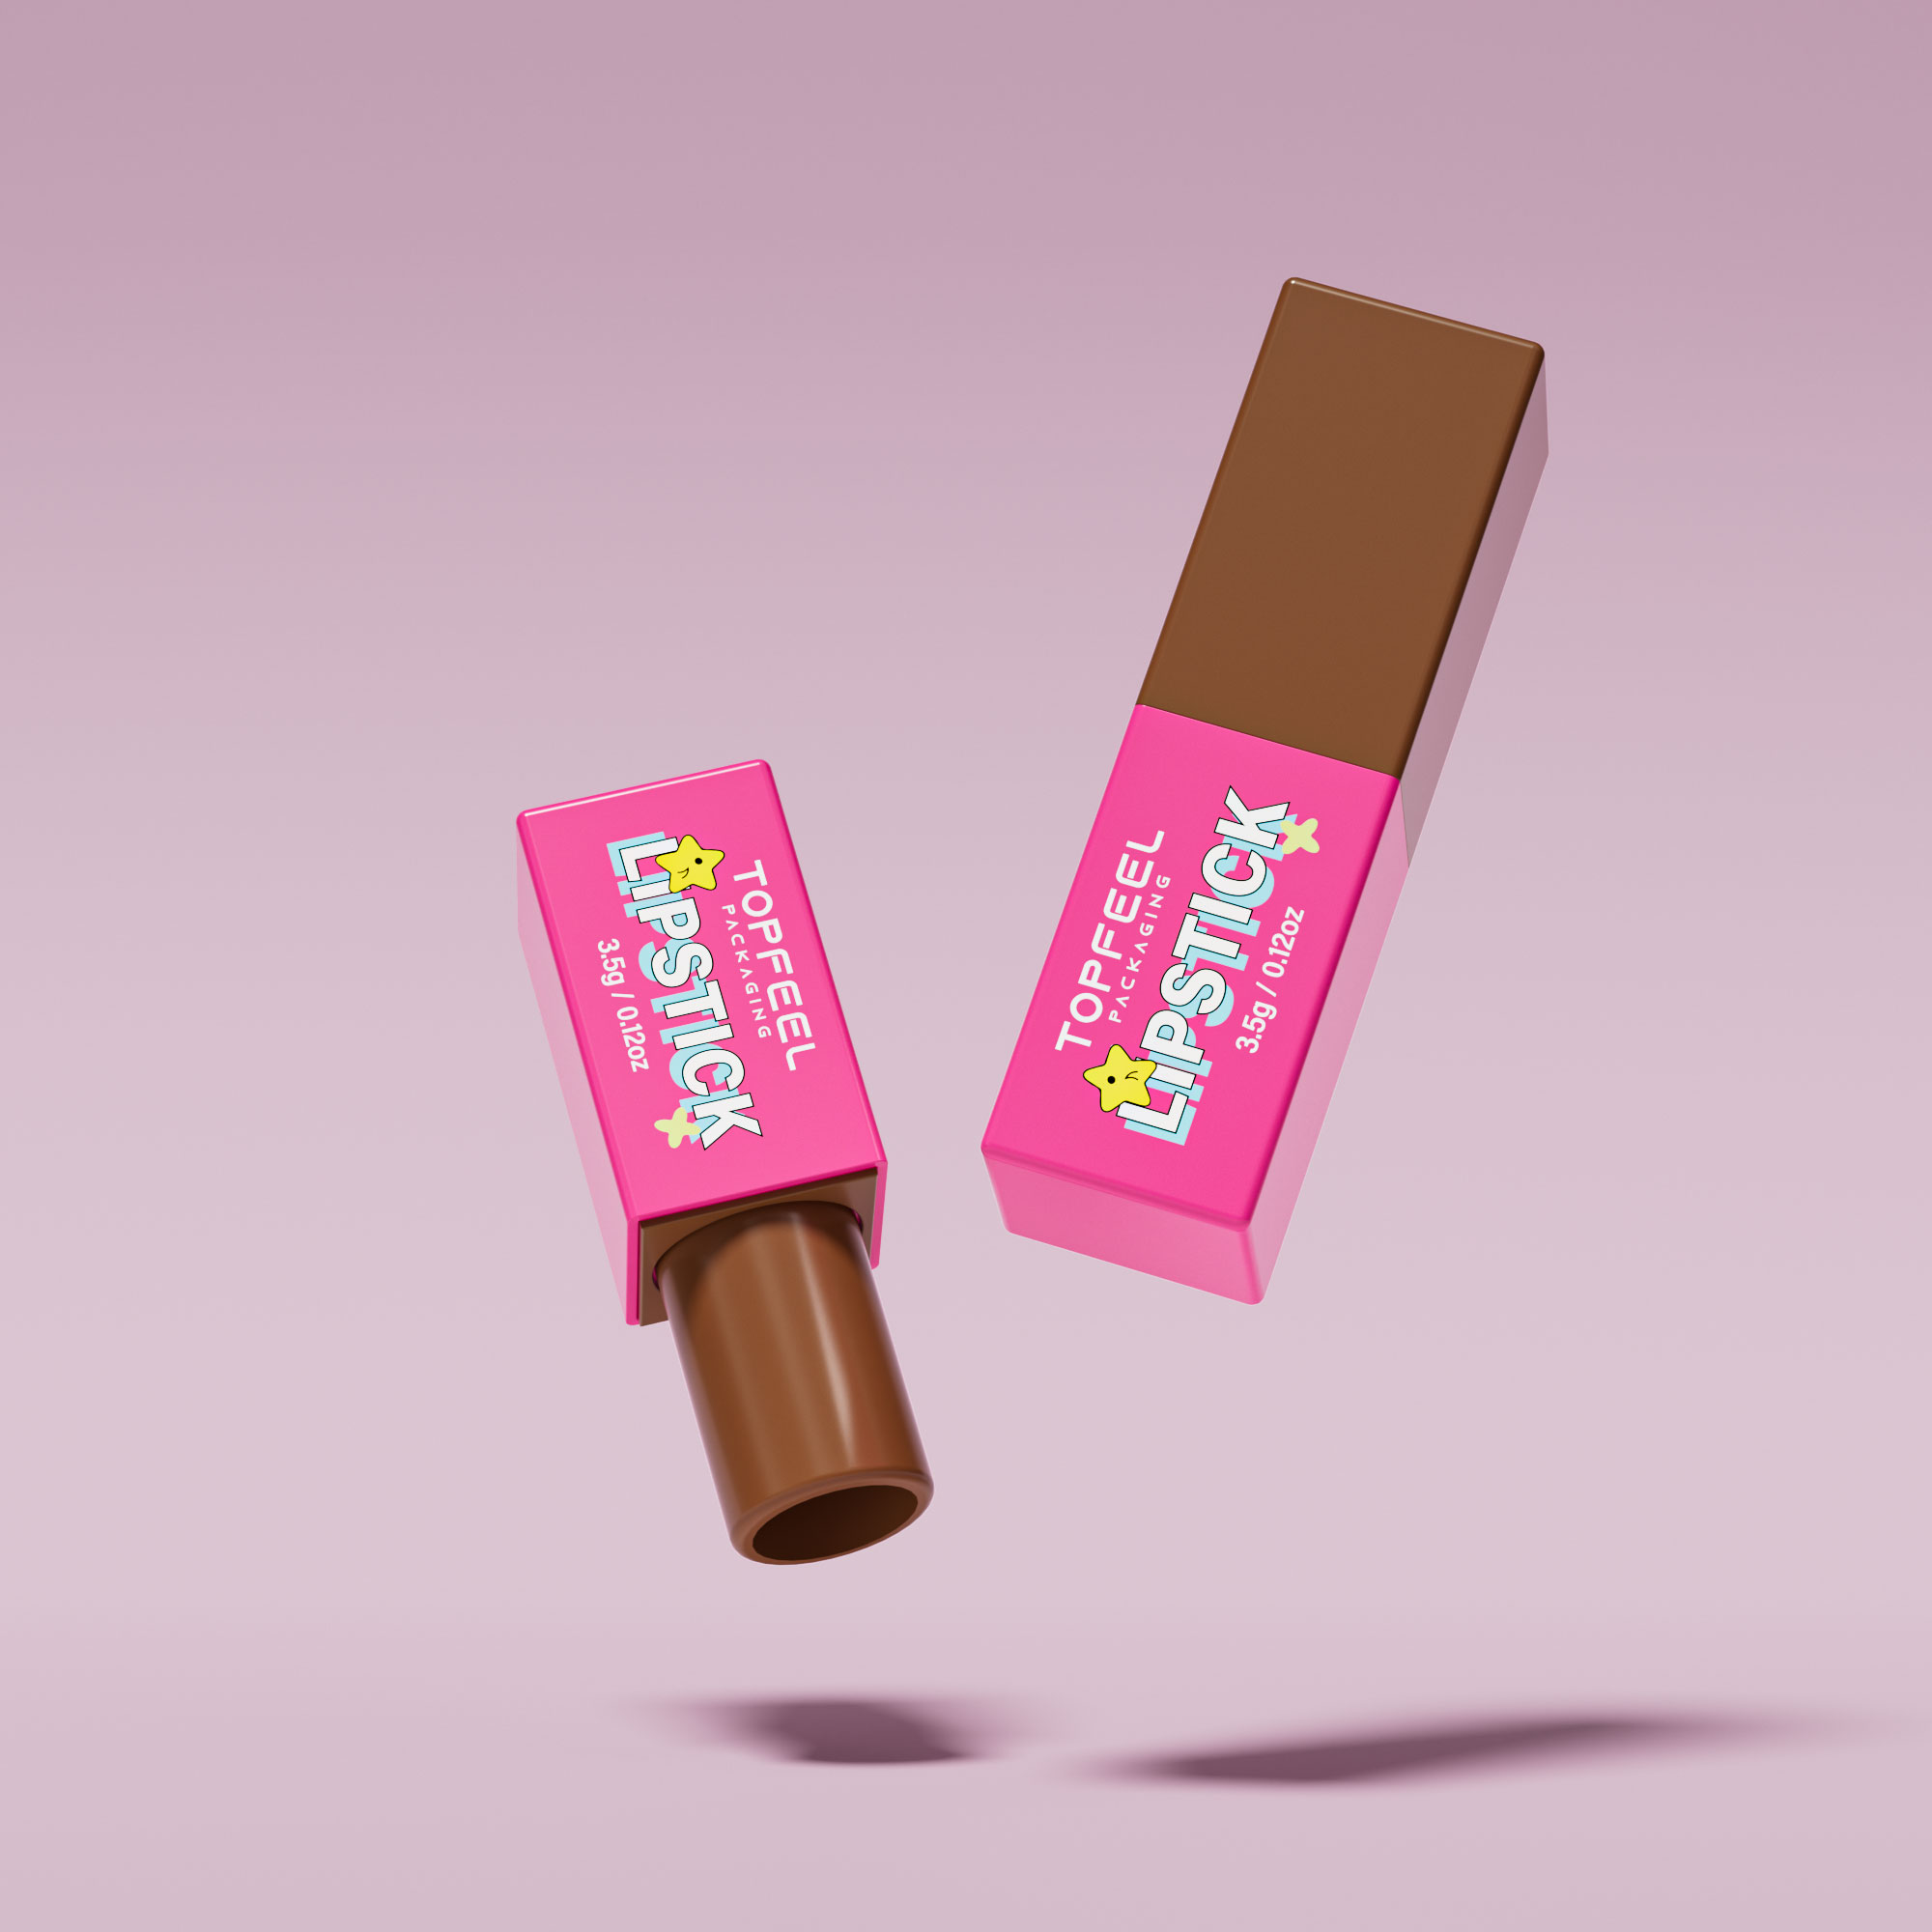
➔ Tube Capacities: Understand the differences in sizes, with 5ml ideal for travel, 10ml catering to mid-range markets, and 15ml representing luxury options.
➔ Material Choices: Choose between PETG for durability and clarity, or Eco-friendly PCR for a sustainable approach.
➔ Applicators: Select an applicator that suits your needs: silicone tips for smooth application or brush applicators for precision.
➔ Cap Styles: Decide between screw caps for security or flip tops for convenience based on your target market.
➔ Filling Tools: Utilize essential machines like piston or vacuum pumps for efficient, accurate filling.
➔ Decorating Your Tubes: Explore hot stamping for a premium finish or labels for branding customization.
➔ Precise Measuring: Invest in accurate scales to ensure consistent product filling, avoiding costly overfilling or underfilling issues.
➔ Contamination Prevention: Maintain a clean environment and sterilize tools to ensure the quality of your lip gloss products.
Step-by-Step Guide: How to Fill Lip Gloss Tubes Efficiently
A quick-start guide that walks you through every move on how to fill lip gloss tubes like a pro—clean, fast, and fuss-free.

Understanding tube capacities: 5ml, 10ml, and 15ml options
• 5ml tubes are perfect for purse-size testers or travel kits.
• 10ml hits the sweet spot for regular use without being bulky.
• 15ml feels luxe and lasts longer—great for premium lines.
• Choosing the right size depends on your formula’s thickness and target audience habits.
Whether you’re figuring out how to fill lip gloss tubes for sampling or full-scale production, picking the right capacity makes all the difference in user satisfaction and shelf appeal.
Material matters: Choosing between PETG plastic and Eco-friendly PCR
-
PETG Plastic
- Crystal-clear visibility
- Impact-resistant
- Ideal for bold colors or glittery formulas
-
Eco-friendly PCR (Post-Consumer Resin)
- Made from recycled plastics
- Slightly less glossy but more sustainable
- Appeals to eco-conscious buyers
Both materials hold up well during filling—but if you’re learning how to fill lip gloss tubes sustainably, PCR is your go-to choice.
Optimal applicators for precise filling: Silicone tips vs. Brush applicators
✔️ Silicone tips are flexible and easy to clean—great when you’re batch-filling with thicker gloss bases.
✔️ Brush applicators, on the other hand, give that extra control when applying shimmer-heavy blends or tinted balms.
✔️ For small-batch creators still figuring out how to fill lip gloss tubes without wasting product, silicone tends to be more forgiving during cleanup.
Choosing your applicator isn’t just about aesthetics—it’s about matching function with formula type.
Selecting the right cap style for convenience: Screws or flip tops?
Screw caps? Think retail-ready security—tight seals mean fewer leaks during transit. Flip tops? They’re grab-and-go favorites for people who apply on-the-fly.
| Cap Type | Best Use Case | Seal Strength | User Convenience |
|---|---|---|---|
| Screw Cap | Long-term storage | High | Medium |
| Flip Top | Daily use/on-the-go | Medium | High |
If you’re experimenting with how to fill lip gloss tubes at scale, consider screw caps first—they reduce messes during shipping trials. But if ease-of-use is king in your brand story, flip tops win hands down.
5 Essential Tools for Filling Lip Gloss Tubes
Mastering how to fill lip gloss tubes takes more than just a steady hand—it’s all about using the right tools for clean, efficient, and professional results.

Precision Syringes and Pipettes
Messy spills? Nah, not with these. Precision syringes and pipettes are your go-to when you want that smooth, accurate flow of product into narrow tubes without wasting a drop.
• Great for small-batch work where volume control matters most.
• Disposable options keep things sanitary—no cross-contamination here!
• Ideal for high-viscosity glosses that need a little push down the barrel.
Whether you’re making clear gloss or pigmented blends, these tools offer pinpoint control every time you fill.
Mini Funnels for Spill-Free Filling
Filling those tiny lip gloss openings can get tricky fast—but a solid mini funnel saves the day.
- Choose between plastic or stainless steel—both rock at preventing spills.
- The wide top lets you pour with ease while the narrow neck fits snugly into any tube.
- Reusable and easy to clean—just rinse and dry after each use!
Learning how to fill lip gloss tubes without mess starts with this simple upgrade.
Lip Gloss Tube Holders and Racks
You ever try filling a tube that won’t stay upright? Frustrating, right? That’s where a good tube holder steps up.
🟢 Keeps multiple tubes standing tall so you can go hands-free during filling.
🟢 Acrylic styles are sturdy, see-through, and super easy to wipe down.
🟢 Perfect for batching out several glosses at once without tipping chaos.
These racks are essential if you’re scaling up production or just like being organized while working on your cute makeup packaging game.
Warming Plates for Optimal Gloss Consistency
A thick formula won’t flow well unless it’s warmed just right—and that’s why a quality warming plate is key when figuring out how to fill lip gloss tubes smoothly.
When heated gently, your base liquefies enough to glide easily through pipettes or funnels without clogging things up mid-pour. Temperature-controlled plates let you fine-tune the heat based on your ingredients’ melting points—especially helpful when working with shea butter or beeswax-based blends that solidify quickly if left too long off heat.
This tool doesn’t just make life easier—it also levels up the texture of your final product big time.
Mixing Tools and Containers
Getting that perfect shimmer swirl? It starts before you even think about filling tubes—with proper mixing gear like sanitized beakers, measuring cups, and mixing spatulas.
▪ Use glass beakers for heating; they handle temperature shifts better than plastic ones.
▪ Stirring rods help blend mica powders evenly into oils so there’s no clumping later.
▪ Keep separate containers for pigments vs clear bases—it speeds things up during batching sessions.
▪ Sanitize everything before use; bacteria loves sticky places like leftover gloss residue!
According to Mintel’s Global Beauty Report Q2 2024, “DIY beauty creators now prioritize lab-like precision over kitchen-counter improvisation,” especially as indie brands scale their operations from hobbyist setups to boutique-level production lines.
Knowing how to fill lip gloss tubes properly means mastering both prep work and pouring—and these tools make sure every step runs smooth as silk.
How to Fill Lip Gloss Tubes: A Beginner’s Perspective

Getting started with how to fill lip gloss tubes doesn’t need to feel intimidating. Here’s a beginner-friendly breakdown that keeps it real, clean, and mess-free.
Gathering Your Lip Gloss Filling Essentials
To whip up your own lip gloss like a pro, you’ll need a solid stash of tools and ingredients. Here’s what should be on your prep list:
- lip gloss base – the heart of your formula; pick clear or tinted depending on your style.
- empty tubes – squeeze tubes or wand applicators, whatever suits your vibe.
- Syringes – super handy for precise filling without splashes.
- pipettes – perfect for smaller batches or custom shades.
- Funnel – old-school but still useful when working with larger containers.
- Mixing tools – spatulas, stir sticks, or even mini whisks do the job well.
- Pigments – micas, oxides, or liquid tints to bring color alive.
- Oils – think jojoba, coconut, or castor oil for added shine and nourishment.
Having these essentials ready means less scrambling mid-process—and more time enjoying the fun part.
Simple Steps for Filling Lip Gloss Tubes
Even if you’re new to figuring out how to fill lip gloss tubes cleanly, here’s an easy rhythm that keeps things flowing smoothly:
• Start by prepping your workspace—wipe down surfaces and lay out all tools.
• Warm up the lip gloss base, especially if it’s thick; this makes mixing easier.
• Stir in any desired colors using your chosen pigments, then blend thoroughly using clean mixing tools.
• Use a pipette or syringe to transfer the mixture into a funnel or directly into an open tube.
• Slowly fill each tube about 90% full—leave space at the top!
• Cap tightly once filled; press down firmly if using wand applicators.
• Wipe off any spills before storing upright for settling.
This method works every time—no fancy equipment needed—and it’s beginner-safe too.
Avoiding Common Filling Mistakes & Troubleshooting
Mess-ups happen—even when you’re careful about how you fill lip gloss tubes. Recognizing common issues helps avoid them next round:
| Issue | Cause | Fix | Prevent It Next Time |
|---|---|---|---|
| Air bubbles | Rushed filling | Tap tube gently post-fill | Fill slowly with syringe |
| Overfilling | Misjudged volume | Remove excess with pipette | Use pre-marked containers |
| Spills | Unsteady hands | Clean immediately with alcohol wipe | Stabilize tubes before filling |
| Uneven distribution | Poor mixing | Stir longer before transfer | Use transparent containers |
Other quick tips? Keep everything sterile and never skip checking consistency—it saves major hassle later on.
Maintaining Hygiene and Product Quality
You’re not just learning how to fill lip gloss tubes—you’re also making something people put on their lips daily. That means hygiene isn’t optional; it’s essential.
Everything starts with sanitizing every tool—yes, even those cute little pipettes—with alcohol or boiling water where safe. Always wear disposable gloves and masks when handling raw materials like oils or pigments. Keep surfaces spotless throughout production so there’s zero chance of contamination sneaking in unnoticed.
And don’t forget preservatives—they’re not just shelf-life extenders but safety guards too. As noted by Global Cosmetic Industry Review (2024), “Preservative systems are non-negotiable in DIY beauty products due to increasing microbial sensitivity among users.”
Protect your product quality by storing filled tubes away from heat and light—cool drawers work better than bathroom counters any day.
Troubleshooting Common Issues in Filling Lip Gloss Tubes

Even pros hit snags when figuring out how to fill lip gloss tubes. Let’s iron out the most common hiccups so your gloss game stays smooth and flawless.
Overcoming clogs: What to do if your applicator is blocked
Clogged tools are a total buzzkill, especially when you’re mid-fill. Here’s how to bust through those blocks:
- Syringe stuck? Flush it with warm distilled water—don’t force it or you’ll wreck the seal.
- Use a needle or thin wire to gently poke through hardened product inside the nozzle.
- Soak parts in isopropyl alcohol overnight to dissolve stubborn product residue.
- Regular cleaning after every batch keeps buildup at bay and saves time down the line.
- Swap out old or cracked components that might be harboring dried gloss inside.
- Keep a backup set of tools handy—because no one likes delays when they’re on a creative roll.
Dealing with air bubbles during filling: Effective solutions
Air pockets can mess up both appearance and volume accuracy, especially when learning how to fill lip gloss tubes without waste.
• Tapping filled tubes lightly on a hard surface helps release trapped air bubbles quickly.
• Try using a slow-pour method or switching to a manual syringe, which gives better control over flow rate.
• Slightly warming thicker formulas reduces their resistance, letting them settle smoothly without gaps—just don’t overdo it; mild heating works best.
- If you’re using an automatic filler, reduce nozzle speed and raise viscosity settings slightly.
- For DIY setups, rest filled tubes upright for 10 minutes before capping—this allows any rising air pockets time to escape naturally.
💡 A quick trick? Add gentle vibration under your tray setup—it helps dislodge micro-bubbles as you work.
According to Mintel’s 2024 Beauty Packaging Insights report, “consumer perception of product quality is directly influenced by visual uniformity,” making bubble-free fills more than just an aesthetic concern—they’re tied directly to trust.
Ensuring quality: How to avoid contamination during the filling process
When you’re diving into how to fill lip gloss tubes at home or commercially, cleanliness makes all the difference.
Always sanitize your workspace before starting anything—tables, hands, even gloves matter.
Use only sterilized tools like pipettes and mixing spoons; don’t assume they’re clean straight from packaging.
Avoid touching open containers with bare hands or letting caps sit uncovered too long—that’s just asking for trouble.
Seal immediately after filling; exposure leads not only to dust but potential microbial contamination too.
Lastly, store everything away from humidity—it’s not just about mold but also preserving formula integrity over time.
FAQs
How to fill lip gloss tubes without creating bubbles?
A slow, steady pour is your best friend here. For smooth finishes:
- Use a piston filler or syringe and guide the product along the inner wall of PETG plastic or acrylic tubes.
- Tap gently before adding the screw cap or flip top cap.
- For perfectionists—place sealed tubes briefly in a small vacuum chamber; watch tiny air pockets vanish like magic dust.
Which tube capacity works best for selling across different markets?
Think lifestyle match rather than “one size fits all”:
| Target Market | Common Choice | Why it Works |
|---|---|---|
| Indie brands | 5ml volume | Pocket-friendly, lightweight |
| Mass market | 10ml size | Balanced cost & generous supply |
| Luxury cosmetics | 15ml container | Feels more substantial, premium touch |
What materials give both beauty and strength in packaging?
PETG plastic charms with crystal clarity—ideal for clear transparent shades that beg to be seen. Eco-friendly PCR speaks directly to eco-conscious buyers without sacrificing durability during delivery runs. Acrylic whispers luxury under frosted finish looks, while ABS plastic stands up bravely against frequent tossing into handbags.
How can decoration turn a simple tube into brand art?
The moment fingers wrap around it should feel intentional:
- Silk screen printing layers rich colors onto opaque white or custom color bodies.
- Hot stamping flashes metallic glimmers against solid black elegance.
- A well-cut label application turns any AS plastic package into an unmistakable signature piece.
Which applicator styles pair well with different lip gloss formulas?
Feel meets function every time you glide it on:
1⃣ Silicone tip – clean lines for high-shine liquids; low mess factor keeps luxury cosmetics pristine before use.
2⃣ Doe foot – soft embrace for creamy gloss blends aimed at professional makeup artists’ kits.
3⃣ Roller ball – cool contact ideal for sheer tints favored by indie brands seeking sensory appeal over thickness slathering speed alone!
References
[Chart: Consumers See the Need for Eco-Friendly Packaging – https://www.statista.com/chart/32141/perceived-importance-of-eco-friendly-packaging-for-sustainable-consumption/]
[Mintel announces Global Beauty and Personal Care Trends for 2024 – https://www.mintel.com/press-centre/mintel-announces-global-beauty-and-personal-care-trends-for-2024/]
[Cosmetic Packaging Trend Tracker: Sustainability x Functionality – <a class=”url” href=”https://www.gcimagazine.com/packaging/prod

