 English
  Español de México
  Français
  Deutsch
  Português do Brasil
  Italiano
  한국어
한국어  ไทย
ไทย  Русский
  日本語
日本語  Polski
  Svenska
  Türkçe

How to Properly Fill Your 6ml Lip Gloss Tubes Without the Mess?
July 30,2026
Filling a wand tube looks simple until gloss coats the neck, traps air, or rises during wiper insertion. A controlled system prevents overfilling and leaks.
Why 6ml Lip Gloss Tubes Overflow During Filling
Nominal Capacity Is Not the Same as Target Fill
A 6ml marking describes nominal capacity, not a 6-gram dose. The target must account for formula density and the space taken by the wiper and wand.
Start with the formula’s measured density at the validated filling temperature. A preliminary mass target can be calculated as:
Target mass = target volume × formula density
Use the result as a starting point. Assemble several samples and check net contents, closure, and leakage. Test the MA-02 6ml lip gloss tube with the actual formula rather than water alone.
Formula Density, Trapped Air, and Wiper Displacement
Three factors commonly push gloss over the neck:
- A high target fill that leaves no functional headspace.
- Air incorporated during mixing or pulled into a syringe.
- Product displaced when the wiper, stem, and applicator enter the tube.
Thick gloss may hold air, while lip oil can splash at high filling speed. Use repeatable conditions instead of visual compensation.
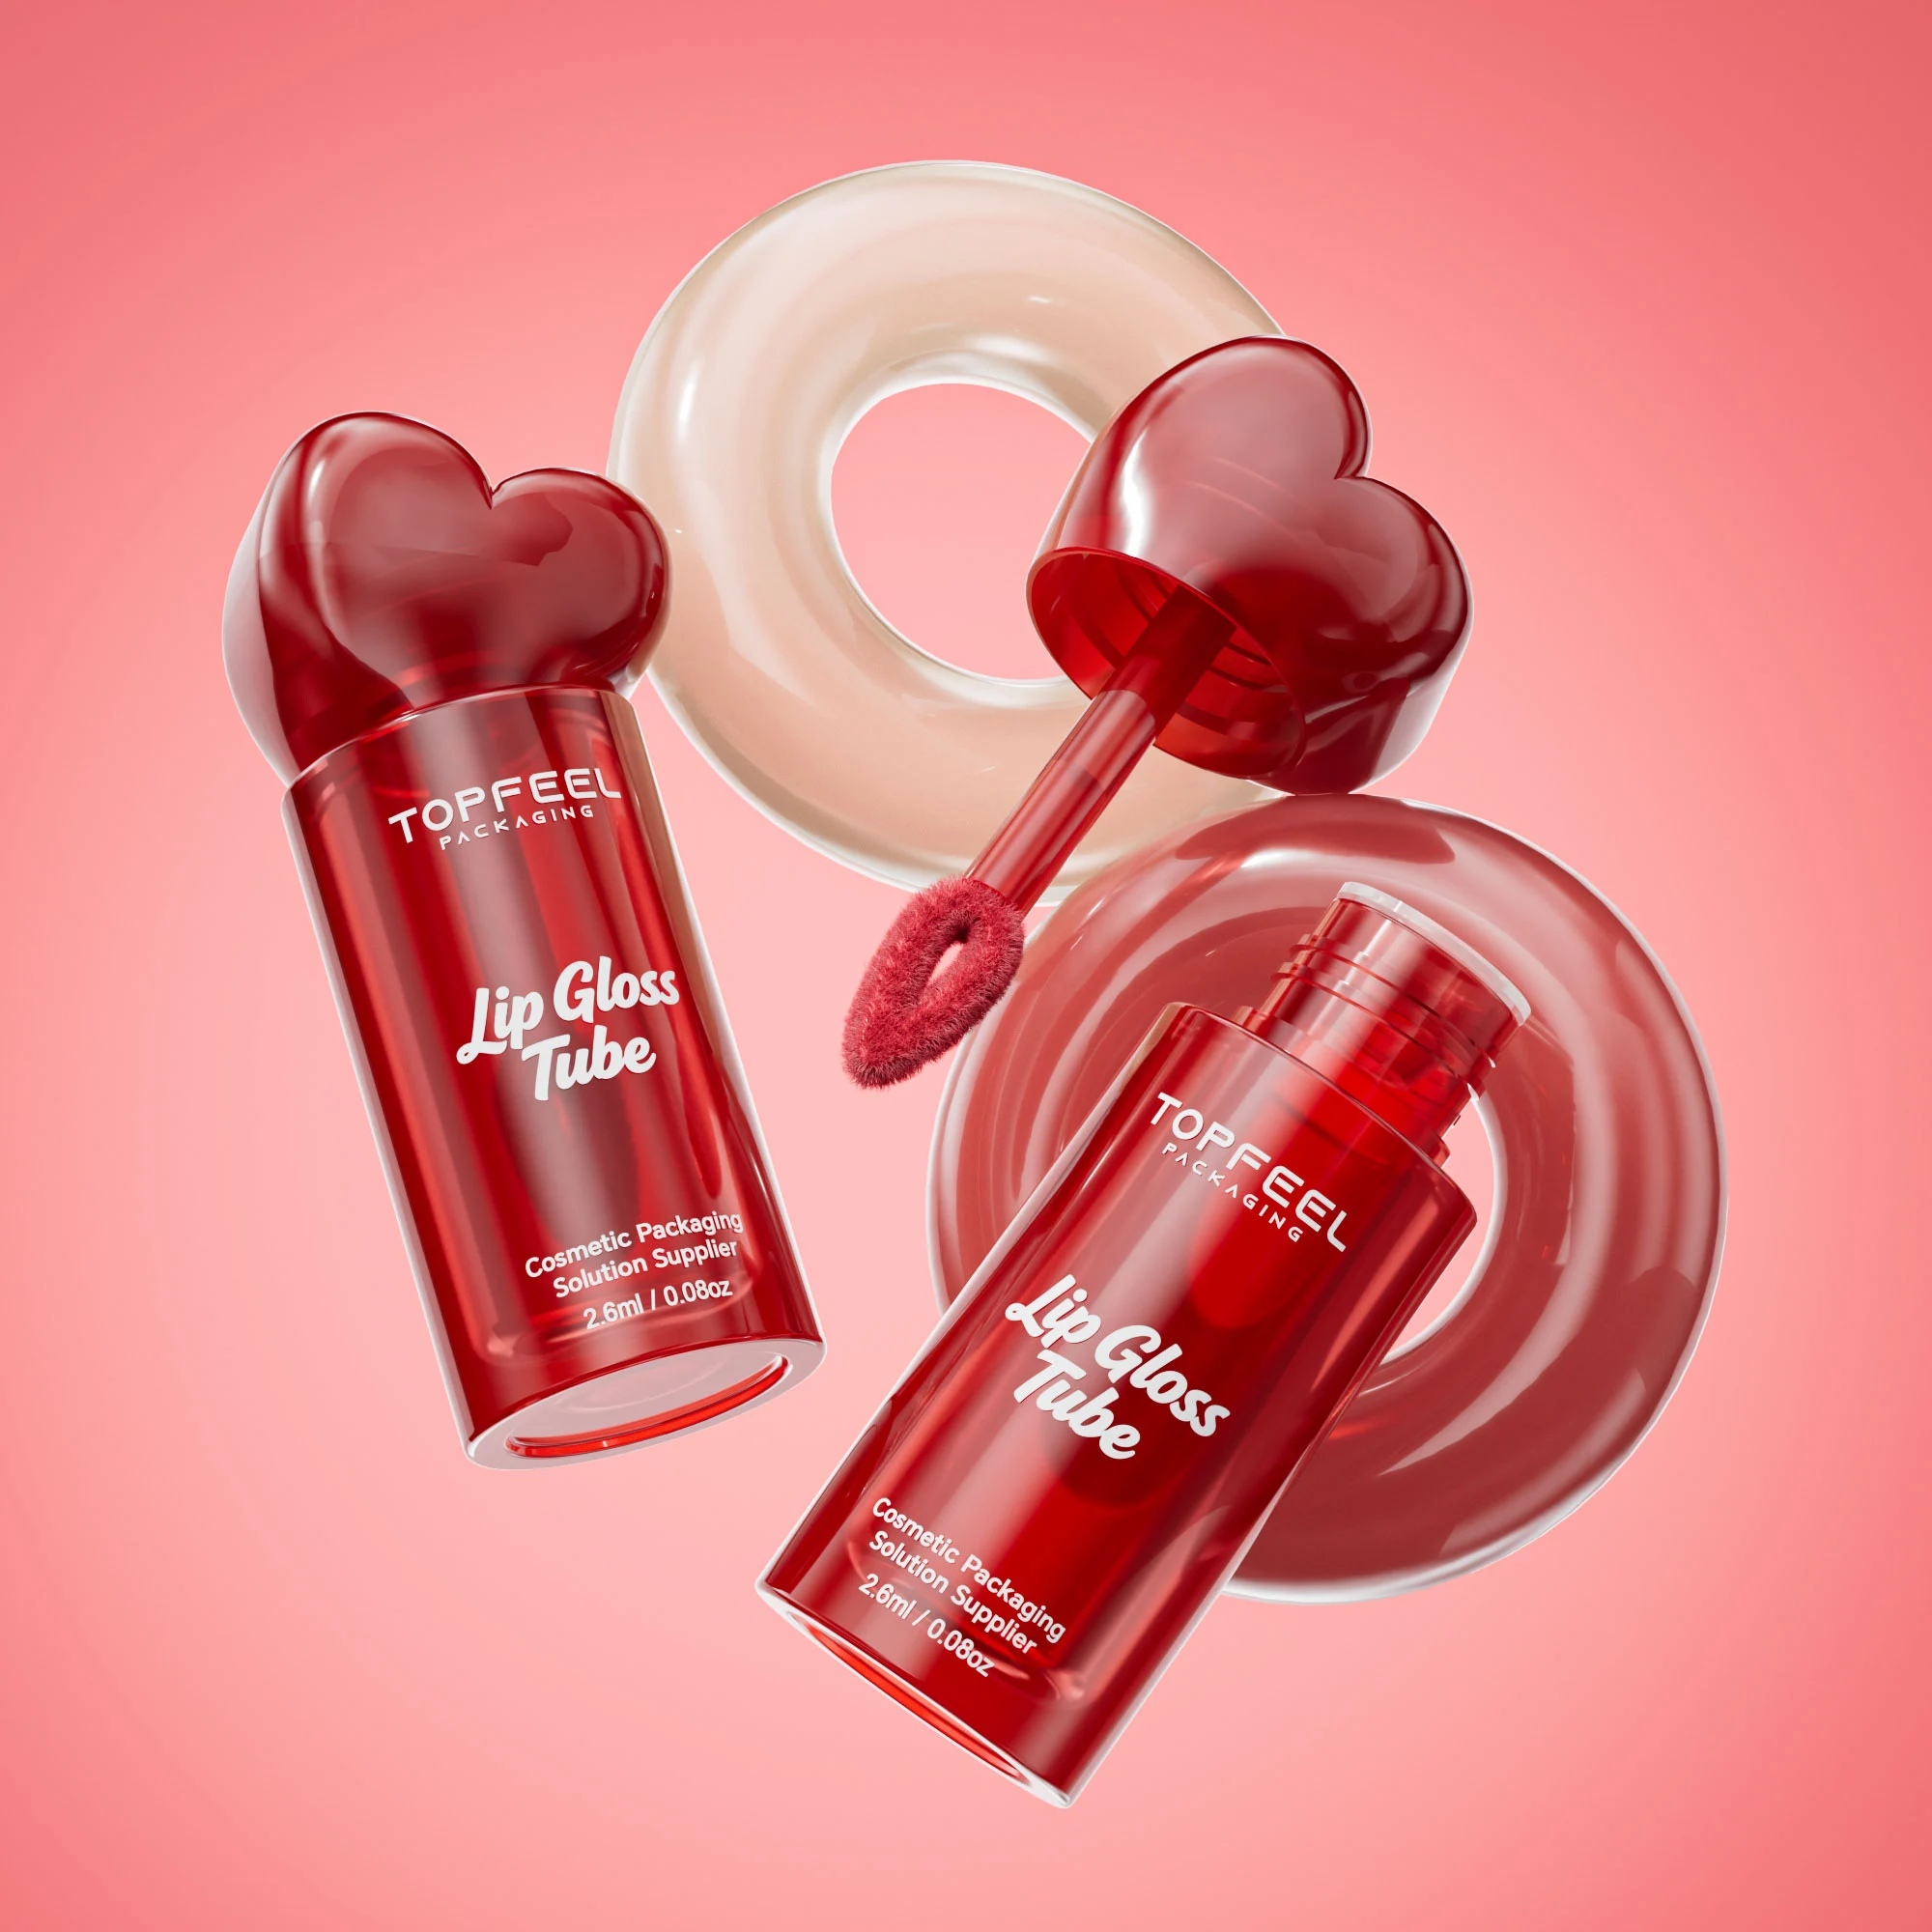
Prepare the Tubes, Formula, and Filling Area
Inspect Every Packaging Component Before Filling
Confirm that bodies, wipers, wands, applicators, and caps match the approved set. Reject distorted necks, debris, or damaged threads. Seat several dry wipers and verify smooth wand movement.
The wiper is part of the dispensing system. Guidance on professional empty lip gloss tubes explains why its opening must suit viscosity. An overly restrictive wiper can create pressure or remove too much product.
Set Up a Clean and Stable Filling Station
Follow approved cosmetic GMP and sanitation procedures. Use clean, dry, identified tools and protect open tubes from dust, splash, and mix-ups. A practical station includes:
- A stable holder that keeps every tube vertical.
- A calibrated balance suitable for the target tolerance.
- A syringe, manual filler, or filling machine with a compatible nozzle.
- Separate areas for unfilled, filled, and rejected units.
- Lint-free wipes for external cleanup, not for contact with the formula.
Never add water or unapproved oil to improve flow; doing so changes formula performance and preservation.
Determine the Trial Fill by Weight
Record the tare weights of at least five tubes. Fill, settle, assemble, and inspect them. Adjust in documented increments until net-content and headspace specifications are met.
Record the average and operating range so operators can check a repeatable setting throughout the run.
Choose a Filling Tool That Matches Your Batch Size
Use Syringes or Manual Fillers for Samples
A needle-free syringe with a blunt extended tip suits samples. Choose a size that handles the formula without excessive pressure, and load slowly to limit air.
A manual piston filler is more efficient for repeated doses, provided output is checked on a balance.
Use a Piston Filler for Repeatable Production
For larger runs, a piston system gives viscous gloss controlled displacement. Dose, nozzle height, speed, compatibility, and cleaning must be adjustable or validated.
Before releasing the run:
- Prime the product path until flow is uniform and visibly free of large air gaps.
- Fill trial units using the actual production settings.
- Weigh trials and adjust the dose.
- Recheck after pauses, refills, or temperature changes.
Match the Nozzle to the Formula and Tube Neck
The nozzle must not scrape the neck or block escaping air. A narrow tip needs more pressure; a wide one can soil threads.
Fill 6ml Lip Gloss Tubes Step by Step
Condition and Deaerate the Lip Gloss Formula
Bring the batch to its validated condition and avoid excessive agitation. Complete any defined resting or deaeration step before the final trial.
Follow the specified filling temperature. Uncontrolled heating can alter viscosity, ingredients, and the final cooled level.
Fill from the Bottom Up at a Controlled Speed
Use this sequence for each tube:
- Hold the tube upright and position the nozzle near the bottom.
- Dispense slowly so gloss spreads outward.
- Raise the nozzle as the product level rises, keeping its outlet just below the surface.
- Reduce speed near the target to keep the neck clean.
- Stop cleanly and withdraw vertically.
Bottom-up filling lets displaced air escape. Top filling can bridge thick product across the tube and trap a void.
Leave Headspace Before Installing the Wiper
Do not fill to the rim. Headspace must accommodate the wiper, applicator, and stem. Let units rest for the specified time; never pierce bubbles with an unapproved tool.
Insert the Wiper, Cap the Tube, and Clean the Neck
Press the wiper straight in with the approved tool. Insert the wand slowly, close to validated torque, clean residue, and segregate damaged units.
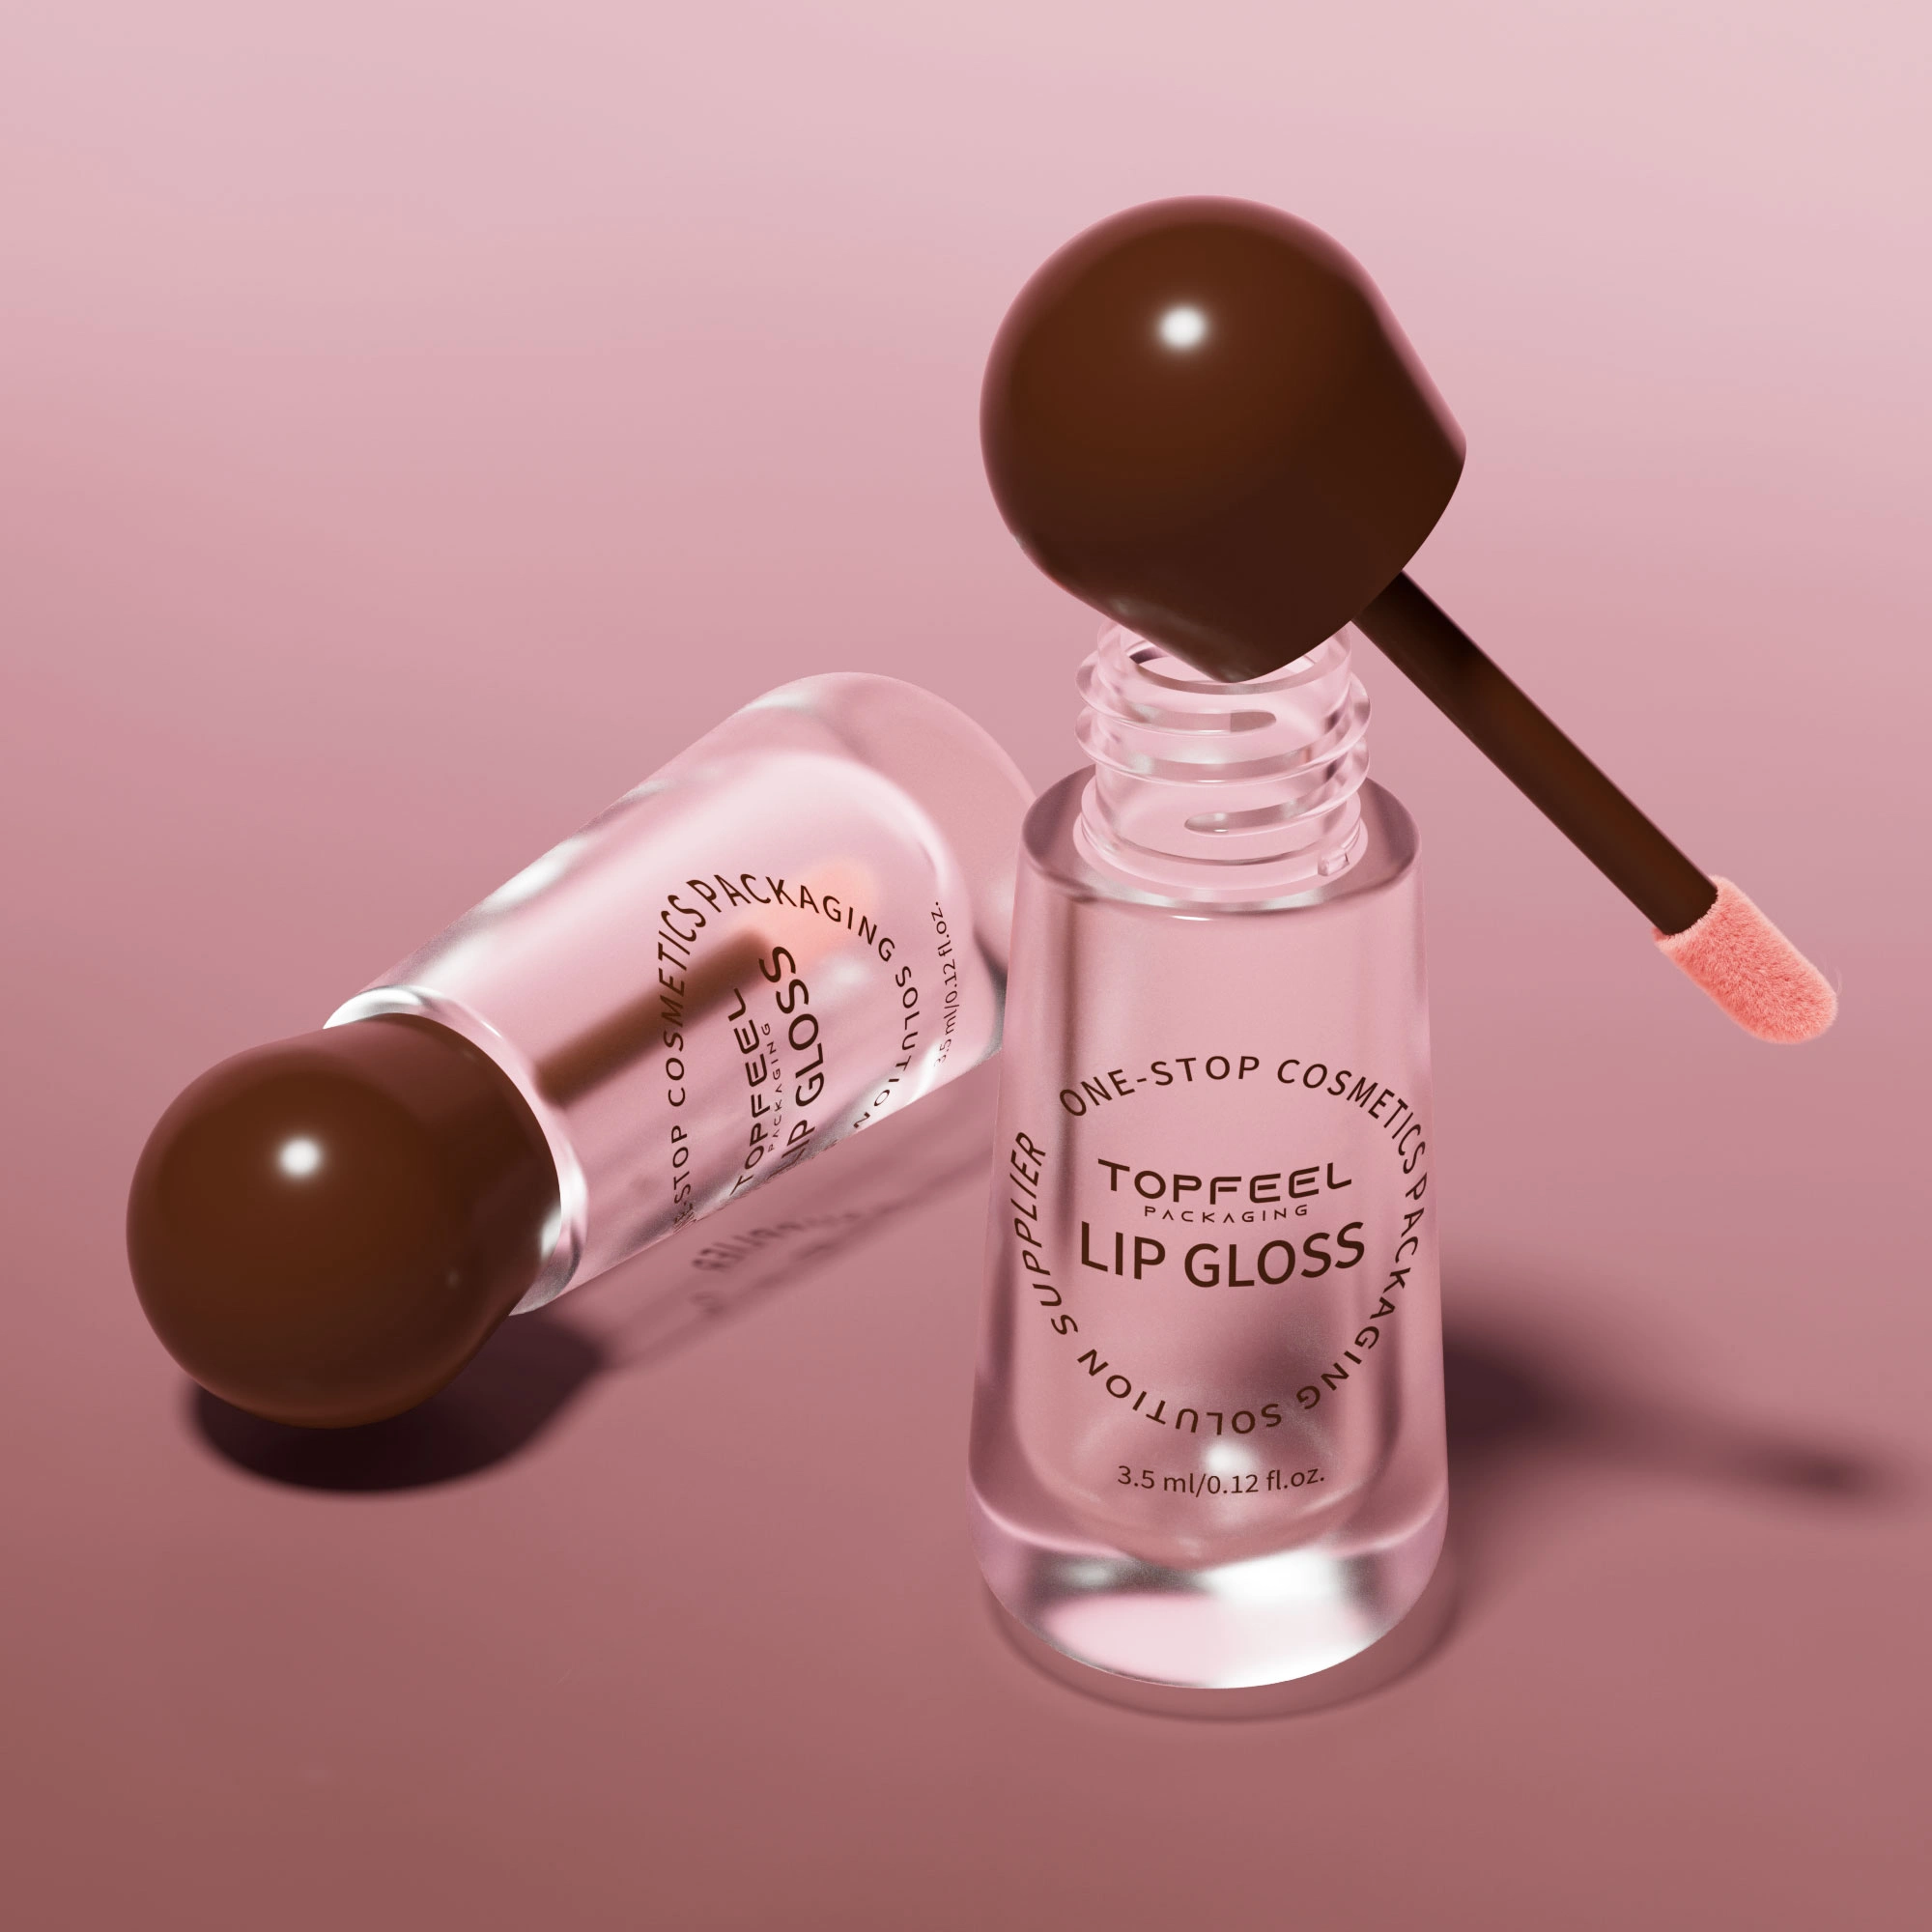
Check and Troubleshoot the Finished Tubes
Correct Bubbles and Uneven Fill Levels
Use a cause-and-action check before changing the target dose:
- Large central void: fill from the bottom and slow the flow.
- Many fine bubbles: review mixing, transfer, and deaeration.
- Variable net weight: prime, calibrate, and increase weight checks.
- Changing fill level: standardize formula condition and rest time.
Do not hide bubbles by overfilling. That transfers the problem to wiper insertion and capping.
Prevent Leaks, Dirty Necks, and Wiper Pop-Out
Leaks may result from excess fill, dirty threads, damaged seals, incorrect torque, or the wiper. Inspect after assembly and conditioning under suitable test conditions.
Record Fill Weights and Test Formula Compatibility
At planned intervals, record net weights and inspect the neck, wiper, closure, and appearance. Trend results and retain samples according to the quality procedure.
Topfeelpack provides samples from its custom lip gloss packaging range for formula and filling trials. We recommend approving the complete component-and-formula combination before mass production rather than assuming every 6ml tube behaves identically.
FAQ
Q: Does a 6ml Lip Gloss Tube Always Hold 6 Grams of Product?
No. Milliliters measure volume and grams measure mass. Calculate from density, then validate in assembled tubes.
Q: How Much Headspace Should Be Left in a 6ml Tube?
There is no universal percentage. Determine headspace from geometry, component displacement, formula behavior, net contents, and documented trials.
Q: What Is the Best Tool for Filling Thick Lip Gloss?
A syringe suits samples; a piston filler is more repeatable for batches. Match the tool to viscosity, dose, nozzle, cleaning, and output.
Q: When Should the Wiper Be Installed?
Install it after filling and any validated settling period. Keep the neck clean, align it squarely, and use consistent force according to packaging and equipment instructions.
Q: How Can Fill Weight Stay Consistent During a Production Run?
Prime and calibrate the filler, standardize formula condition, weigh units at defined intervals, and recheck after interruptions. Stop the line when results trend outside documented limits.

