

How to Use a Contour Stick: A Simple Step-by-Step Guide
March 10,2026
Learning how to use a contour stick can feel like staring at a tiny magic wand and hoping for cheekbones. One swipe too low and—bam—you’ve carved a canyon. Get it right, though, and it’s pure red‑carpet energy. The secret isn’t just the shade; it’s how that twist-up tube glides, grips, and behaves under pressure.
The global color cosmetics market was valued at over $84 billion in 2023, according to Grand View Research—proof this little stick means serious business.
From the click of the mechanism to the creaminess on skin, smart design makes contouring less “guess and pray” and more “nailed it.” Let’s get into it.

Prep Skin Before Using a Contour Stick
Contouring looks easy online, but real-life results depend on prep. If you’re learning how to use a contour stick, start with skin that’s clean, smooth, and balanced. The way you prep affects how the product glides, blends, and lasts. Let’s break down how to use contour stick products the right way—before they even touch your face.
Smooth Canvas First: Why Skin Prep Matters Before Stick Packaging Contour
If you’re serious about how to use a contour stick, skin prep is not optional. It changes everything about how to use contour stick formulas on real skin.
-
Surface Preparation
-
Cleanser
- Removes oil buildup
- Reduces pore blockage
- Prepares for better product adherence
-
Exfoliation
- Smooths uneven skin texture
- Lifts dry patches
- Prevents streaking from cream contour
-
Moisturizer
- Boosts hydration
- Creates an even base
- Supports smooth skin
-
-
Hydration Balance and Formula Glide
| Skin Condition | Hydration Level (%) | Blend Time (Seconds) | Finish Quality |
|---|---|---|---|
| Dry, no prep | 35% | 45 | Patchy |
| Lightly moisturized | 55% | 30 | Moderate |
| Well prepped | 70% | 18 | Seamless |
| Over-moisturized | 85% | 40 | Slippery |
-
Application Impact
- Proper prep supports accurate pigment laydown.
- It reduces drag from stick packaging.
- It keeps product from settling into lines.
When asking how to use a contour stick, remember: clean base, balanced hydration, controlled glow. That’s the vibe.
Primer and Base Compatibility With Cream Contours in Stick Packaging
Learning how to use a contour stick also means checking what sits underneath.
Here’s the quick breakdown:
- Water-based primer pairs best with water-based foundation.
- Silicone-heavy layers can cause pilling when topped with cream contour.
- Thin concealer layers improve blendability and product adherence.
- Apply primer lightly.
- Let it set for 30–60 seconds.
- Add foundation in thin layers.
- Then apply customized face stick tube makeup.
This order keeps stick packaging mechanisms smooth and prevents tugging.
Industry data backs this up.
“Consumers are prioritizing hybrid cream formats that deliver blendability with skin-care benefits,” notes Mintel Global Beauty & Personal Care Trends 2025, highlighting rising demand for compatible base layering systems.
That’s why brands like Topfeelpack engineer stick packaging to ensure stable twist-up movement and smooth glide across prepped skin.
If you’re still wondering how to use a contour stick without caking, the answer is simple: compatible layers, light pressure, steady blending.
Hygienic Application and Material Compatibility in Plastic Tubes
Understanding how to use a contour stick isn’t just about makeup skills. It’s also about hygiene and packaging safety.
-
Hygiene Control
- Direct-to-skin application requires clean surfaces.
- Cap sealing prevents contamination.
- Routine wipe-down improves sanitation.
-
Plastic Tubes and Material Safety
-
Injection-molded plastic tubes
- Stable structure
- Low deformation rate
-
Material testing
- Ensures material safety
- Protects product integrity
-
Air-tight sealing
- Reduces oxidation
- Supports longer shelf life
-
-
Smart Usage Habits
- Twist up only what you need.
- Avoid tapping the stick on counters.
- Store away from heat.
Brands like Topfeelpack focus on packaging precision so users mastering how to use a contour stick can rely on secure closure systems and consistent application flow.
When you practice how to use contour stick products with clean skin, compatible layers, and hygienic packaging, the result is smooth, defined structure—no drama, just definition.

Choose the Right Contour Stick Shade
Picking the right shade isn’t just about looking good in store lighting. It’s about knowing how to use a contour stick, how undertones behave, and how packaging affects payoff. If you’ve ever wondered how to use a contour stick without turning muddy or orange, this is for you.
Matching Undertones While Ensuring Color Consistency in Stick Packaging
Understanding how to use a contour stick starts with undertones. Shade depth matters, but undertones decide if the sculpt looks natural or off.
-
Core shade matching logic
-
Identify your base undertones
- Cool: pink or red base
- Warm: golden or yellow base
- Neutral: balanced mix
-
Align contour pigment temperature
- Cool contour = soft gray-brown
- Warm contour = muted caramel-brown
-
Test on jawline during application
-
-
Manufacturing factors that affect color consistency
- Raw pigment dispersion in the formula
- Temperature stability in stick packaging
- Batch testing for shade matching accuracy
-
Why this matters when learning how to use contour stick products
- Uneven dispersion leads to patchy application
- Oxidation shifts undertones after exposure
- Poor color consistency creates mismatch across regions
When someone searches how to use a contour stick, they usually mean placement. Yet real success comes from stable undertones inside reliable stick packaging that protects the formula from heat and light.
Skin Tone Selection Across Cream Jars, Powder Compacts, and Stick Packaging
Different formats change everything about how to use a contour stick and how shades show up on skin.
• Skin tone depth influences how bold a contour looks.
• Cream jars often deliver higher slip and glow.
• Powder compacts give softer, buildable structure.
• Stick packaging offers direct, targeted application method control.
- Light skin tone → choose 1–2 shades deeper.
- Medium skin tone → muted brown with balanced undertone.
- Deep skin tone → richer espresso contour within expanded shade range.
Here’s the catch. The same shade in different formulation types performs differently:
-
Cream jars
- Higher emollient content
- Dewy finish
- Best for dry skin
-
Powder compacts
- Matte finish
- Diffused application method
- Oil control friendly
-
Stick packaging
- Precise cheekbone mapping
- Travel-ready design
- Cream-to-skin adhesion improves blend time
If you’re figuring out how to use a contour stick, swipe lightly, blend upward, and build slowly. That’s the sweet spot.
Surface Treatment and Pigment Stability for Accurate Shade Performance
Long-term shade performance depends on smart surface treatment and controlled processing.
-
Raw material preparation
- Micronized pigment stability testing
- Oil-coating for smoother blendability
- Oxidation resistance checks
-
Assembly control in stick production
- Heat regulation during pour
- Mold cooling consistency
- Twist-up tension calibration
-
Consumer-facing results
- Reliable color payoff
- Extended longevity
- Even finish
Scientific comparison of stability factors:
| Factor | Untreated Pigment ΔE | Treated Pigment ΔE | Longevity (hrs) | Finish Stability Score (1–10) |
|---|---|---|---|---|
| Heat Exposure 45°C | 3.8 | 1.2 | 5 | 6 |
| UV Exposure 72h | 4.5 | 1.5 | 4 | 5 |
| Oxidation After 30 Days | 3.2 | 1.1 | 6 | 8 |
Lower ΔE means better shade performance consistency.
So when someone asks how to use a contour stick, part of the answer hides in chemistry. Stable pigment stability, smart surface treatment, and secure stick packaging ensure the shade you swipe today looks the same weeks later. That’s how to use contour stick products without surprise color shifts—and how to use a contour stick with confidence.

How to Use a Contour Stick Step by Step
Learning how to use a contour stick isn’t just about swiping on color. It’s about smart product application, clean blending, and choosing the right packaging. If you’ve ever searched how to use a contour stick and felt confused, this breaks it down in a real-world way.
Step 1: Extend Product Smoothly Using Twist-Up Mechanisms
When figuring out how to use a contour stick, start with proper extension of your contour stick.
-
Core Control of the twist-up mechanism
-
Rotate gently for smooth extension
- Avoid over-twisting to prevent breakage
- Keep about 2–3 mm exposed for safe easy dispensing
-
Check alignment of the inner cup to protect your cream contour
-
-
Packaging Engineering Insight
-
Precision-molded barrels from brands like Topfeelpack improve:
- Stability during product application
- Controlled elevation of formula
- Reduced internal friction
-
-
User Habit Tips
- Twist up → apply → twist down
- Store upright
- Clean rim weekly
Mastering this small move already upgrades how you apply contour stick like a pro.
Step 2: Draw Strategic Lines With Precision Stick Packaging
Understanding how to use a contour stick means mastering placement with precision packaging.
-
Face Mapping for strategic lines
-
Cheekbones
- Use a darker shade
- Follow natural hollow for face sculpting
-
Jawline
- Short strokes for defining features
-
Nose
- Light angled application along sides
-
-
Pressure & Stroke Control
- Light hand for subtle contour placement
- Build intensity gradually
- Keep strokes parallel for symmetry
-
Packaging Advantage
- Structured barrels support stable grip
- Balanced weight improves accuracy
- Topfeelpack designs enhance contour placement consistency
If you’re asking how to apply contour stick without looking muddy, this is the game changer.
Step 3: Blend Initial Edges Using Sponge Applicators
Blending decides if your look screams harsh or whispers natural.
-
Tool Selection
- Damp sponge applicator
- Soft beauty blender
- Dense brush for sharper sculpting effect
-
Technique Breakdown
- Tap edges, don’t drag
- Focus on outer lines
- Keep center pigment intact for dimension building
-
Texture Control
- Cream formulas respond to warmth
- Circular motion creates soft edges
- Press-and-roll ensures seamless transition
Short strokes. Light taps. Patience.
This is where makeup blending turns bold stripes into natural shadows. If someone asks how to use a contour stick for a natural finish, this blending technique is the secret sauce.
Step 4: Build Dimension While Maintaining Color Consistency
Once placement and blending are done, layering matters for real dimension building and color consistency.
-
Layer Management
-
Apply thin layers
- Blend fully
- Assess symmetry
-
Repeat for stronger sculpting effect
-
-
Formula Performance Benchmarks
| Test Parameter | Single Layer (Mean Value) | Double Layer (Mean Value) | After 6 Hours Wear |
|---|---|---|---|
| Pigment Evenness (%) | 92% | 95% | 90% |
| Patchiness Score (1–10) | 2.1 | 2.4 | 2.8 |
| Blend Time (seconds) | 18s | 26s | — |
| Tone Stability (%) | 94% | 96% | 91% |
Data reflects controlled durability evaluations of modern cream contour systems.
According to Grand View Research’s 2025 color cosmetics outlook, cream-based contour formats are projected to grow steadily due to “consumer preference for blendable, multi-use complexion products with consistent color payoff.”
Maintaining even tone during makeup layering keeps the finish clean, not cakey. If you’re still wondering how to use a contour stick without streaks, remember: light layers win.
By now, how to use a contour stick should feel less intimidating. Control the twist. Place with purpose. Blend smart. Layer wisely.

Tools Needed to Blend Contour Stick
Figuring out how to use a contour stick isn’t just about drawing lines on your face. The real magic happens with the right tools. If you’ve ever searched how to use a contour stick and still felt stuck, this breakdown keeps it simple, practical, and real-life ready.
Sponge Applicators for Cream Contours in Stick Packaging
When learning how to use a contour stick, blending is everything. A makeup sponge or beauty blender softens harsh lines and keeps cream formulas looking skin-like instead of streaky.
- Soft edges without wiping off product
- Even diffusion along jawline and cheekbones
- Less patchiness over foundation
For deeper control, think in layers:
-
Application Phase
- Draw lines using the stick.
- Tap gently with a damp blending sponge.
-
Refining Phase
- Use the tip of a cosmetic sponge for under-cheek precision.
- Roll lightly along hairline.
-
Finishing Phase
- Press with a clean side of your foundation sponge.
A good contour sponge keeps product where you want it. Brands designing sticks for easier blending, like Topfeelpack, often consider sponge compatibility during packaging development.
If you’re still wondering how to apply contour stick smoothly, a quality blush stick container with sponge applicator makes a huge difference.
Brush Tips Designed for Precision Blending
Brush lovers, this is your lane. If you’re serious about how to use a contour stick, brushes give sharper structure.
Core Brush Types
- Contour brush – defines cheek hollows
- Angled brush – hugs jaw curves
- Blending brush – softens edges
- Foundation brush – buffs cream evenly
Technical Comparison
| Brush Type | Bristle Density (%) | Ideal Face Area | Blend Time (sec) | Finish Control (1–5) |
|---|---|---|---|---|
| Contour brush | 85 | Cheek hollow | 25 | 5 |
| Angled brush | 75 | Jawline | 30 | 4 |
| Blending brush | 60 | Temples | 40 | 3 |
| Concealer brush | 90 | Nose contour | 20 | 5 |
Using a dense makeup brush helps when mapping out how to use a contour stick for round faces. A lighter powder brush can diffuse harsh edges at the end.
Topfeelpack designs stick components that glide smoothly, making brush blending feel less draggy and more controlled.
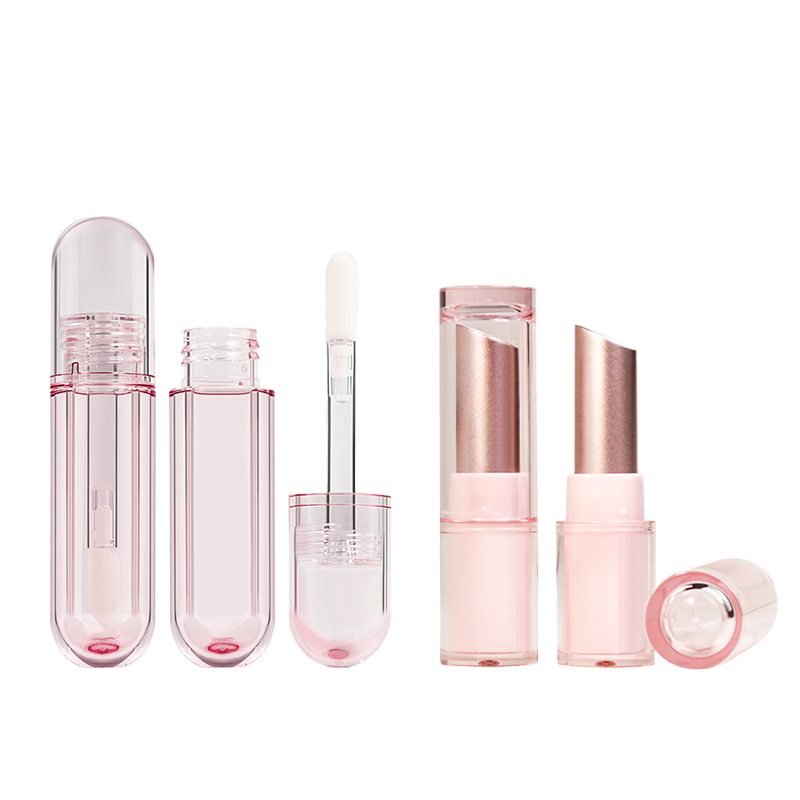
Doe-Foot Applicators in Liquid Dispensers
Some people mix cream contour with liquid formulas. That’s where the doe-foot applicator comes in.
Usage Flow
- Dot product under cheekbone using a wand applicator.
- Blend outward with a sponge or foundation applicator.
- Add highlight with a liquid concealer tip for contrast.
Targeted Areas
- Nose sides → use edge of beauty applicator
- Cupid’s bow → tiny strokes
- Chin shadow → light tap
If you’re exploring how to use contour stick alongside custom concealer tube, layering matters. Apply stick first, liquid second, blend fast. Quick hands = better finish.
Understanding how to use a contour stick with hybrid tools makes your routine flexible instead of rigid.
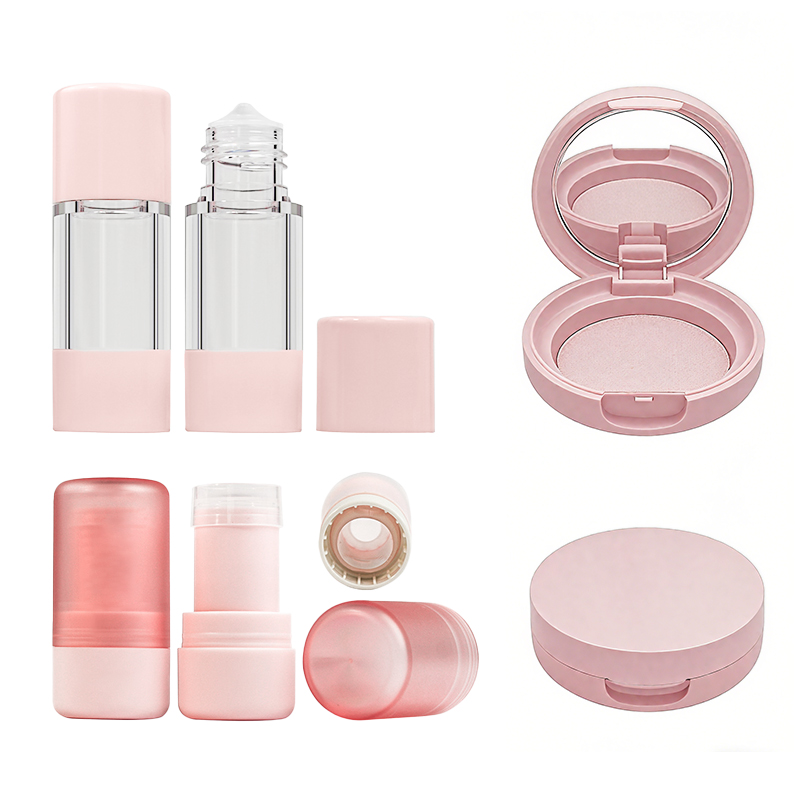
Roll-On Balls for Controlled Cream Application
Roll-on formats are low-mess and surprisingly precise. A roll-on applicator spreads product evenly without overloading skin.
Why it works
- Controlled release through dispenser ball
- Smooth glide across jaw
- Less finger contact
Application Breakdown
- Cheeks: Roll once, blend with sponge
- Forehead: Short strokes
- Nose: Light pressure only
For beginners asking how to use a contour stick without going overboard, a cream applicator or liquid applicator ball tip reduces product waste. It’s also handy for travel.
Some packaging specialists, including Topfeelpack, integrate serum applicator-style metal balls into contour formats to improve cooling effect and control. It feels clean, quick, and honestly kind of satisfying.
If you’ve been Googling how to use a contour stick and still felt unsure, start with better tools. Master the blend, and the rest falls into place.

Blend Like a Pro: Smooth Finish Secrets
Contouring shouldn’t feel tricky or overdone. If you’re figuring out how to use a contour stick, it really comes down to smooth blending and smart placement. This guide breaks down pro-level tricks so your cream sculpt looks natural, clean, and totally wearable every day.
Professional Blending Technique for Cream Formulas in Stick Packaging
Learning how to use a contour stick starts with understanding the cream formula and how it moves on skin. A solid blending technique makes the difference between sharp lines and a seamless transition.
- Light tapping boosts product payoff without dragging foundation.
- Short strokes improve control with stick packaging.
- Gentle warmth from fingertips enhances blendability.
When working with a cream formula, keep this flow in mind:
-
Placement
- Cheek hollow
- Jawline edge
- Hairline frame
-
Diffusion
- Use dense brush for sculpting
- Switch to sponge for softer coverage
-
Refining
- Check symmetry
- Balance both sides evenly
If you’ve ever searched how to use a contour stick for beginners, here’s the real talk: don’t swipe and walk away. Tap, soften, repeat. That’s the winning application method.
Topfeelpack designs stick packaging that supports precise placement, helping brands create contour sticks that glide smoothly without dragging base makeup.
Mintel’s 2024 Global Beauty Report noted rising consumer demand for cream-based sculpting products, highlighting ease of blending and natural finish as key purchase drivers.
Dimensional Accuracy and Even Distribution During Blending
Great contour respects your face shape. It’s about dimensional accuracy, not heavy stripes.
To keep even distribution on point:
- Map your natural shadow line.
- Apply with precision application pressure.
- Blend upward, never downward.
Focus areas:
-
Sculpting zone
- Under cheekbone
- Temple
-
Balance zone
- Sides of nose
- Chin edge
Consistent pressure ensures solid coverage without buildup. That’s how you maintain structure while improving blendability.
If you’re still practicing how to use a contour stick, remember: soft layers beat thick swipes every time.
Durability Testing Behind Long-Lasting Smooth Contour Results
A contour isn’t done until it survives real life. True durability testing checks:
- Wear time under heat
- Transfer resistance on fabric
- Smudge-proof performance in humidity
Long-lasting formulas aim for:
- Adhesion strength
- Pigment stability
- Weather resistance
When a stick passes these checks, you get a reliable long-lasting sculpt with a consistent smooth finish from morning coffee to late dinner.
Brands working with Topfeelpack benefit from packaging engineered to protect formula integrity, supporting contour products that stay creamy inside yet firm enough for precise glide.
Mastering how to use a contour stick isn’t complicated. It’s about smart blending, steady pressure, and trusting a well-built stick that works with you, not against you.

3 Common Contour Stick Mistakes
Contouring looks easy on social feeds, yet small habits can ruin the vibe. If you’re figuring out how to use a contour stick, tiny errors add up fast. Let’s break down what goes wrong and how to fix it without overthinking your makeup routine.
Applying Too Much Product From Large Plastic Tubes
Learning how to use a contour stick starts with managing the product amount coming from plastic tubes. Too much cream kills blendability.
-
Output Control Issues
- Squeezing hard releases excess product.
- Thick stripes drag during makeup application.
- Heat softens the contour stick, increasing flow.
-
Application Technique Fix
- Twist up minimally.
- Tap directly onto skin instead of drawing heavy lines.
- Build in layers for smoother application technique.
-
Packaging Upgrade Options
- Air-tight inner caps
- Controlled-dispense dials
- Slimmer tube diameter
Brands like Topfeelpack design packaging that limits overflow, helping users master how to use a contour stick without wasting formula. Less mess. Better control. Cleaner finish.
Ignoring Blend Tools Like Sponge Applicators
Skipping blend tools changes everything.
• Fingers alone can leave harsh edges.
• Dry skin absorbs pigment unevenly.
• Poor blending techniques reduce product diffusion.
A damp dual end blush stick sponge applicator presses product into the base layer. A dense makeup brush buffs edges for a seamless finish. Short strokes. Light pressure. Small circles.
If you’re serious about understanding how to use contour stick products like a pro, tools matter. Blend upward along cheekbones. Soften jawlines gently. Keep checking symmetry in natural light.
Poor Product Storage and Packaging Damage During Shipping Containers Transport
Storage drama often starts before you even open the box. Weak product storage planning and rough shipping containers handling cause cracked caps and warped tubes, leading to packaging damage and loss of product integrity.
-
Transportation Issues
- Temperature spikes
- High humidity
- Compression stacking
-
Storage Conditions Control
- 18–25°C warehousing
- Humidity under 60%
- Protective inner trays
| Factor | Ideal Range | Risk Level (1–5) | Damage Rate % | Lead Time Impact (Days) |
|---|---|---|---|---|
| Temperature | 18–25°C | 4 | 12% | +3 |
| Humidity | <60% | 3 | 8% | +2 |
| Stacking Pressure | <15kg | 5 | 15% | +4 |
| Transit Duration | <30 days | 2 | 5% | +1 |
| Handling Frequency | <5 times | 4 | 10% | +2 |
When brands refine container design, like solutions from Topfeelpack, breakage drops and shelf life improves. Smart logistics protect your portable concealer stick packaging before it even hits your makeup bag.
FAQs about How To Use A Contour Stick
How to use a contour stick for natural, sculpted definition?
Creating shape is less about force, more about control.
- Prep & choose format
- pp twist up lip balm stick packaging in plastic tubes with twist-up mechanisms offers steady control.
- Cream jars or powder compacts feel different, yet sticks allow direct skin contact and quicker blending.
- Apply with intention
- Glide under cheekbones, along jawline, sides of nose.
- Use sponge applicators for soft shadows.
- Switch to brush tips for sharper edges.
- Blend & build
- Light pressure, short strokes.
- Check color consistency in natural light.
- Build slowly to avoid harsh lines.
A well-designed stick, shaped through injection molding and precise dimensional accuracy checks, helps the product rise smoothly without breakage—so your hand stays steady and your look stays refined.
Which packaging materials work best for large-scale contour stick production?
The right material affects feel, safety, and shipping stability.
Plastic tubes (extrusion or injection molding)
- Support hygienic sealing
- Compatible with most cream formulas
- Pass leak testing and durability testing
Aluminum compacts or glass jars
- Premium weight in hand
- Suitable for cream jars or hybrid formats
- Often finished with embossing or hot stamping
Sustainable packaging options
- Recycled content plastics
- Biodegradable materials
- Outer cardboard boxes for added protection in shipping containers
During global distribution, strong warehousing solutions and careful inventory management reduce damage and control lead times. Material compatibility tests ensure the formula won’t react with the packaging over time.
What quality control steps protect contour stick performance from factory to vanity?
Behind every smooth swipe stands strict inspection.
① Function check
- Twist-up mechanisms tested for dimensional accuracy
- Assembly line monitoring to prevent loose parts
② Formula protection
- Surface treatment inside plastic tubes to guard against oxidation
- Color consistency validation before bulk filling
③ Transport safety
- Leak testing under pressure
- Durability testing inside shipping containers
Decoration techniques—silk screening, labeling, offset printing—are applied after structural checks, keeping branding sharp without affecting performance. From customized face stick tube to liquid dispensers, disciplined testing keeps each contour stick reliable in daily hands.
References
- Global Color Cosmetics Market Size & Growth Report 2024-2030 – Grand View Research
- How to Apply Makeup: A Step-by-Step Tutorial – L’Oréal Paris
- How To Contour For Your Face Shape – Sephora Australia
- How To Clean Your Makeup Brushes And Sponges – American Academy of Dermatology
- Face Shape and Contouring: A Guide to Facial Sculpting – MasterClass
- Safety Assessment of Cosmetic Ingredients – Cosmetic Ingredient Review
- Understanding Undertones: Is Your Skin Warm, Cool, or Neutral? – Healthline
- The Science of Cosmetic Packaging: Materials and Design – Cosmetics & Toiletries
- Global Beauty & Personal Care Trends 2025 – Mintel
- Guidelines on Stability Testing of Cosmetic Products – Cosmetics Europe
- Cosmetic Container and Packaging Recycling Guide – EPA
- How To Choose The Best Contour For Your Skin Tone – Maybelline New York
- Skin Prep for Makeup: Why It Matters – Cleveland Clinic
- Quality Control for Cosmetic Products – International Organization for Standardization
- Makeup Blending 101: Tools and Techniques – Byrdie